How I Make Perfect Poached Salmon at Home
Updated on Jun 09, 2025
If you’ve never tried poaching salmon at home, you might be surprised by just how easy and delicious it can be. I used to think it was a technique reserved for chefs, but once I gave it a try, it quickly became one of my favorite ways to cook salmon.
In this guide, I’ll show you exactly how I make perfectly poached salmon in my own kitchen. With a few simple ingredients and the right approach, you can enjoy tender, flavorful salmon any night of the week. Let’s dive in.
Why Poached Salmon?
Poaching is one of the best ways to cook salmon because it keeps the fish tender, juicy, and full of flavor. Instead of blasting it with high heat like grilling or baking, poaching gently simmers the salmon in a warm, flavorful bath. There’s no risk of it drying out or turning tough, which makes it almost foolproof.
What really makes poaching special is the liquid. I love infusing mine with lemon slices, garlic, and fresh herbs like dill or parsley — whatever aromatics I have on hand. As the salmon cooks, it absorbs these subtle flavors, so each bite tastes light, bright, and deeply satisfying.
And here’s a bonus: poaching doesn’t need much oil or butter, so it’s a naturally healthy way to prepare fish. It’s also one of the best ways to highlight the flavor of premium wild salmon. The whole process is quick, low-maintenance, and feels a little more elegant—without any extra effort—than your typical weeknight dinner.
Ingredients I Use for Poaching Salmon
When I poach salmon at home, I like to keep things simple but intentional, starting with the fish itself. I always reach for wild-caught salmon, especially Wild Alaskan Sockeye Salmon. It has a cleaner, richer flavor and is naturally higher in omega-3s compared to farmed salmon. Since poaching is such a gentle cooking method, the salmon’s pure taste really comes through.
Related: Wild Caught vs. Farm Raised Salmon: What’s the Difference?
For the poaching liquid, I stick to the basics. Water or a light seafood broth works perfectly, and I’ll often add a splash of white wine for extra depth. Aromatics make all the difference: fresh lemon slices, garlic cloves, and herbs like dill or parsley give the salmon subtle layers of flavor. A pinch of sea salt is a must, and sometimes I’ll toss in a bay leaf or peppercorns for an extra hint of complexity.
That’s it! No fancy ingredients, just a clean, simple setup that lets the salmon shine. This method works beautifully whether you’re poaching salmon fillets for an easy weeknight dinner or meal prepping healthy salmon for salads and grain bowls.
How I Poach Salmon to Perfection
Once I started poaching salmon at home, it quickly became part of my regular routine. It’s one of those techniques that sounds fancy but is actually very doable once you know the steps. I’ve found that with the right approach, poached salmon turns out beautifully every time — whether I’m making it for an easy dinner or to have on hand for salads and grain bowls.
Here’s exactly how I do it:
- Prepare the salmon: I start with fresh, wild-caught salmon fillets. Skin-on pieces about 1 to 1.5 inches thick work best for even cooking.
- Prepare the poaching liquid: In a large, shallow pan, I combine enough water or seafood broth to fully submerge the salmon. If I have it on hand, I’ll add a splash of white wine for depth. Then in go the aromatics: lemon slices, garlic cloves, fresh herbs like dill or parsley, a pinch of sea salt, and sometimes a bay leaf or peppercorns.
- Bring it to a gentle simmer: I set the pan over medium heat and slowly bring the liquid to a gentle simmer—not a boil. You want small bubbles just forming around the edges. This keeps the salmon delicate and prevents overcooking.
- Add the salmon: I gently slide the salmon fillets into the liquid, skin-side down. They should be mostly submerged—if needed, I’ll add a bit more liquid.
- Cover and cook: I cover the pan and let the salmon poach for about 10–12 minutes, depending on thickness. The fish is done when it’s opaque throughout and flakes easily with a fork.
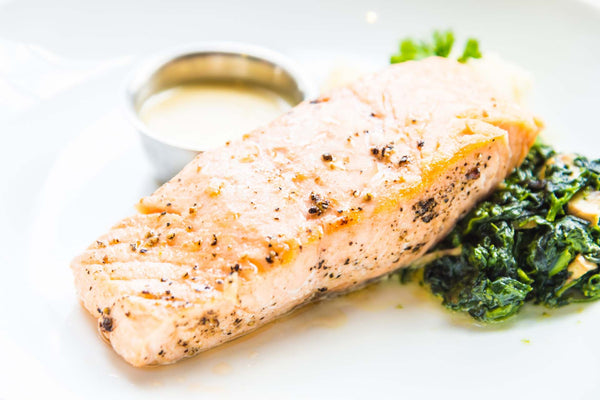
- Rest and serve: I carefully lift the fillets out with a slotted spatula and let them rest for a minute or two. Resting keeps them juicy. Then it’s time to serve—warm with sides, or chilled and flaked over a salad.
Mistakes to Avoid When Poaching Salmon
Poaching salmon is simple, but a few common slip-ups can turn your perfectly tender fish into something dry or bland. Overcooking, using the wrong temperature, or forgetting to season the poaching liquid are easy mistakes that even experienced cooks make. To help you get it right every time, here are the key mistakes I always watch out for when poaching salmon:
- Boiling the liquid: Keep the liquid at a gentle simmer. Boiling can make salmon dry and rubbery.
- Poaching straight from frozen: Always thaw salmon first. This ensures even cooking and the best texture.
- Skipping the seasoning: A bland poaching liquid equals bland salmon. Always add salt, lemon, garlic, and herbs.
- Using too many strong flavors: Let the salmon shine. Too many bold ingredients can overpower its natural flavor.
- Overcooking: Watch the time closely. Salmon is done when it’s opaque and flakes easily with a fork.
- Not checking the temperature: For perfectly cooked salmon, aim for an internal temp of 120–125°F (49–52°C).
- Skipping the resting step: Let the salmon rest for a couple of minutes after poaching to keep it juicy and tender.
Poached Salmon FAQs
Can I poach frozen salmon?
Yes, you can poach frozen salmon, but I always recommend thawing it first. Thawed salmon cooks more evenly and results in a tender, flaky texture. If you poach straight from frozen, the outside can overcook before the inside is fully done.
Related: How to Thaw Salmon (Different Methods & Tips)
How do I store poached salmon leftovers?
Let the salmon cool completely first to help preserve its texture and flavor. Then store it in an airtight container in the refrigerator. Properly stored, poached salmon will stay fresh for 3 to 4 days.
Can I reuse the salmon poaching liquid?
Yes! After straining out any solids, you can store the poaching liquid in an airtight container. It will keep in the fridge for up to 5 days, or you can freeze it for longer storage. I love using it as a flavorful base for soups, sauces, or even cooking grains.
Summary
Poaching salmon is one of my favorite cooking techniques because it’s simple, healthy, and brings out the pure flavor of high-quality wild salmon. With just a few basic ingredients and a gentle simmer, you can create salmon that’s tender, juicy, and perfect for any meal.
Whether you’re poaching Wild Alaskan Sockeye Salmon for a quick dinner or meal prepping for the week, this method delivers consistent, delicious results. Once you try it, you’ll see how easy it is to make restaurant-quality poached salmon right at home.
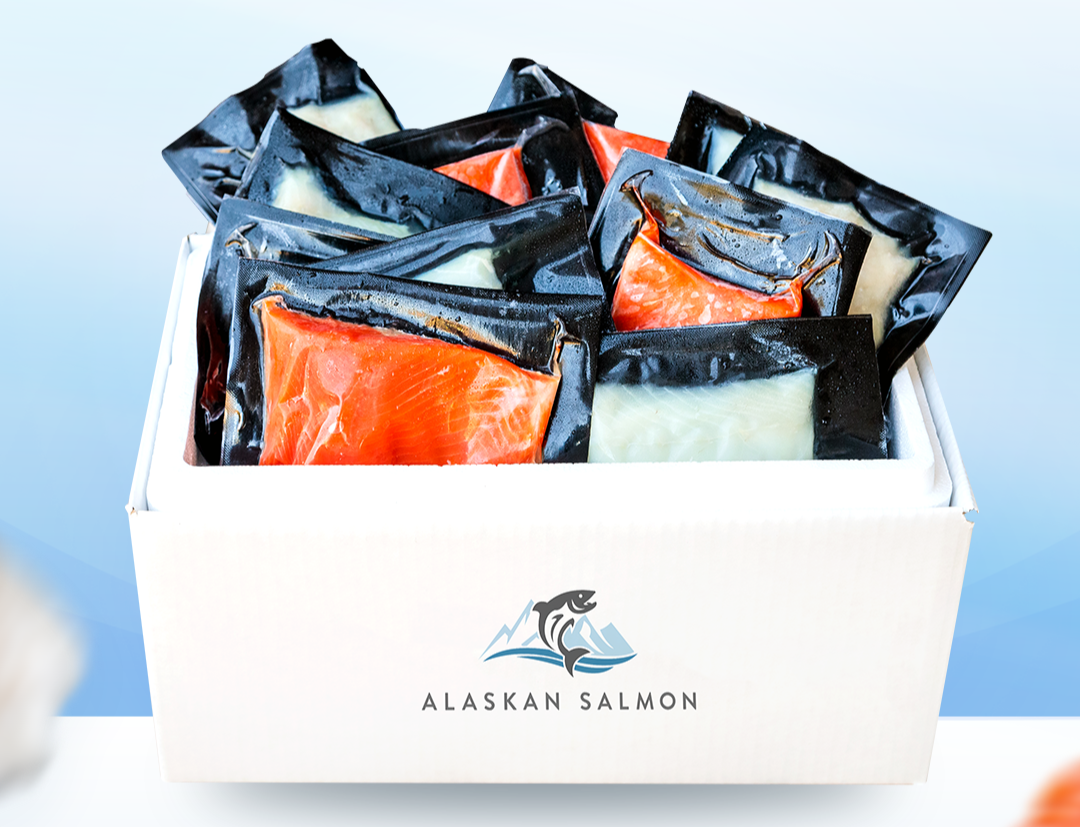
If you’re looking for premium wild-caught salmon to use in this recipe, I always recommend our Wild Sockeye Salmon — it’s what I trust in my own kitchen.


